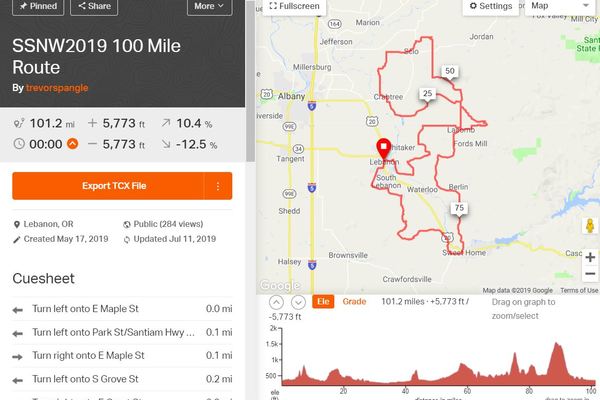
Knowing the basics of your event course will help you to avoid surprises on the day. While it’s not necessary to know every curve and climb, knowing the character of the course and where the major obstacles are will help you plan your day. For example, if the ride has one major climb that takes place in the first quarter of the event, you know that you will need to conserve a bit on that climb in order to have enough energy to complete the rest of the course. Check the course profile and the character of the roads. Are they straight, or twisty? Rough or smooth? Narrow or wide? Are the climbs steep or shallow? Which way does the prevailing wind typically come from? If the event has checkpoints or rest stops, where are they? Knowing the answers to these questions can help you plan your ride strategy and make your day as smooth as possible. If the event stakes are high, it is highly advisable to ride tricky segments of the course in advance. There's no substitute for experience. Most events provide GPS route guidance that you can review on your computer and use on your cycling computer. We love Ride with GPS for previewing the course. You can select from a variety of map types and even see the course from a "Street View" perspective.
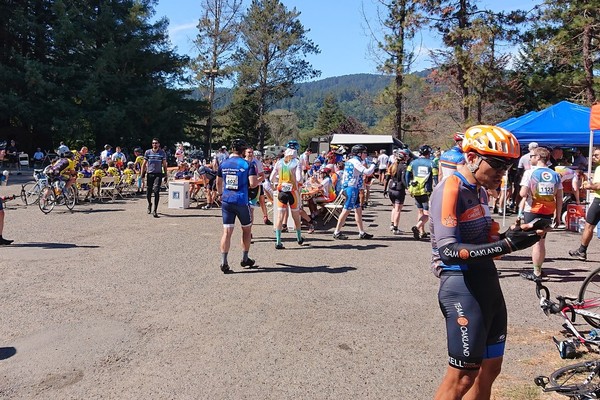
Not too long! The longer you stand or sit at an aid station, the more you give your muscles the signal that “we’re done!” and the harder it is to get them going again. Try not to stick around for more than 5 minutes. Fill your bottles, eat some food, restock your jersey pockets, use the restroom if you need to, and be on your way! At larger events there can be some competition for resources. Plan for this. It is always a wize choice to be more self-sufficient. Be as strategic as possible when making choices at the aide station. How long are the lines for food, restroom, or the bike mechanic? Also, it is always tempting to socialize with other cyclists. It is part of the fun. However, if you're not careful you could find yourself leaving 20-30 minutes later, making for a much longer day than you expected! It is much better to socialize at the finish line.>
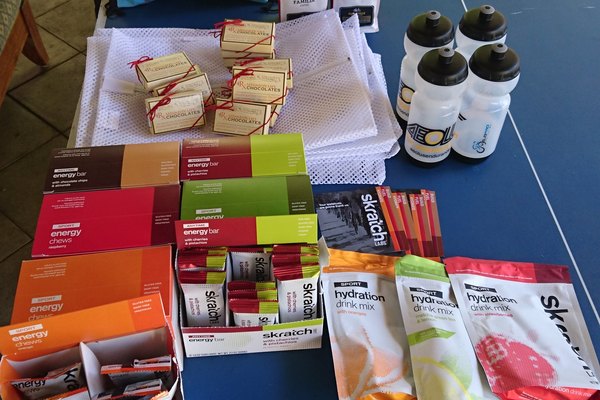
When you’re planning a hydration and nutrition strategy for riding 100 miles, don’t think of it in terms of the distance, but rather in terms of the hours you’ll spend on the bike. So, if you’re able to do it in 5 hours, you’ll need to eat and drink a bit differently than if you plan to take 10 hours. In either case, it can be disastrous to get behind. Forgetting to eat and drink regularly will often lead to the dreaded "bonk" and for a very unpleasant day.
Long distance rides are often called "eating contests on a bike." The rule is to always “eat before you are hungry, and drink before you get thirsty.” You don’t need to treat your jersey pocket food stores like an all-you-can-eat buffet, but we do recommend you eat 90-250 calories every 40-60 minutes. Only consume food and drink that you know your stomach can handle. An event ride is the wrong time to experiment with a new energy gel or hydration product. The consequences of ignoring this advice can be quite embarrassing and smelly. Eat real food instead of highly processed gimmick products whenever possible.
You should drink 1 bottle of water and or hydration drink each hour. If the weather is hot, you’ll need to drink even more. Water is super important, but you will also need to replace your electrolytes (salt and potassium). We prefer OSMO or Scratch Labs hydration products. Avoid sugary drinks like Gatorade that can sour the stomach. In very hot and sweaty circumstances, you may need salt tabs to help prevent or stop leg cramps. Some people claim that the salt and more importantly the vinegar in pickles and pickle juice can also help.
A few more quick tips. Don't overeat at the dinner and breakfast before a big ride. It doesn't help and can leave you feeling sluggish. The carbo-loading strategy of twenty years ago is no longer best practice. Make sure to work on being hydrated at least 48 hours in advance of your ride. However, avoid heavily pre-hydrating the night before your event. This can leave you urgently needing to pee multiple times during the big event. If you need to pee, wait until a rest stop or find a private spot, stop, and do it. Despite the heroic and humorous tales, we don't recommend you wee in the saddle or attempt to pizzle off the side of your bike. Uric acid can ulcerate the skin and cause an unpleasant rash. Also, crashing with your "gear" out makes for a permanent social media bonanza. Finally, judiciously use caffeine. There's nothing wrong with a cup of coffee before an event. A quick hit of caffeine toward the end of a ride can give you a nice boost. However, overusing caffeine can hard on the stomach, inspire an emergency bathroom visit, and be dehydrating.
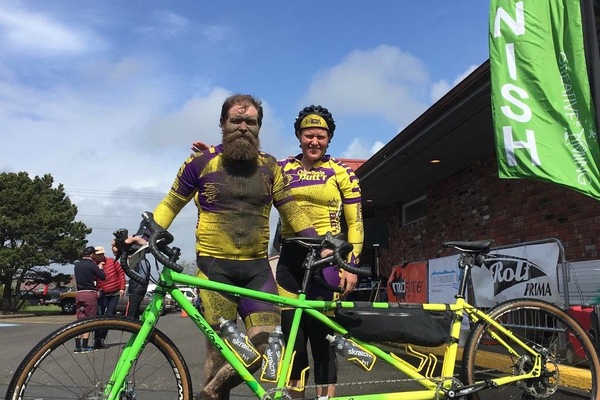
They say that sharing a tandem either drives people apart or makes them best friends. That may or may not be true, but one thing is for certain - a tandem has two engines, and the closer they are in terms of power, communication, and weight, the better (and faster) the ride will be.
So, how does one train for an event on a tandem?
The short answer is: very similarly to the way one trains for solo events. VeloPro plans always work with your schedule and ability, so the training workouts you get will be optimal. What VeloPro doesn’t do is give you practice riding and handling a tandem bike or experience working with a partner. Communicating with your partner is the really important part. Your efforts need to be in sync. Shifting, cadence, braking, and steering all require communication. It doesn’t help to be in top shape if you’re constantly missing shifts or grinding gears because the stoker (rear rider) has no idea what the captain’s (front rider) plans are. So, while it’s important to have good fitness, it’s just as important for both riders to learn to trust each other by working as a team and communicating efficiently.
Big thanks to Trevor Spangle and Jamie Lusk, tandem partners who provided this photo and used VeloPro to train for Dirty Kanza!
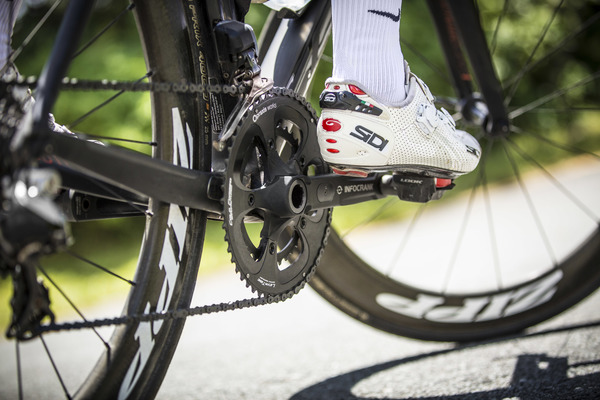
How fast your pedal is called cadence. Most people, if left to their own devices, will pedal at a cadence around 70 or 80 rpm. This is fine if your riding mainly consists of mid-level to low efforts on flat roads. However, if you’re competing, or even just doing regular group rides, it pays to be able to pedal smoothly at higher RPM. That’s because when you need to make accelerations like getting onto a wheel in the paceline, following someone’s attack or keeping up with the pack on a hill climb--doing so from a high gear is inefficient and slow.
Think of it this way. There are two ways to go faster, pedal a bigger gear using more muscle or pedal an easier gear at a higher RPM. Both approaches will increase your power, but a higher cadence in a lower gear is less likely to tire out your legs. This is a technique that Tour de France winner Chris Froome uses to tackle racing’s toughest climbs. It is the same way as when driving a car. In order to make a pass on the highway, it’s faster to downshift (causing the engine to run at higher RPM) and go past than it is to leave the car in a high gear and lumber on by.
The good news is that pedaling at a higher RPM is a learned skill. You can train to increase your cadence. A good rule of thumb is this: when warming up and cooling down during your workouts, try to maintain a cadence of 90-100 RPM in a lower gear. For the rest of your workout, just do what feels natural. You will find many opportunities to use a higher cadence to improve your speed and efficiency.
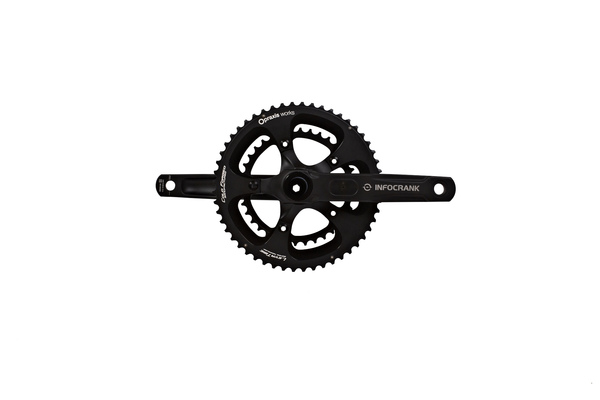
If you have a dual-sided power meter (we highly recommend InfoCrank) you’ll no doubt be paying attention to your pedal balance. This is the proportion of power that you derive from each of your legs. While some folks pedal with nearly 50/50 balance, most folks are off by a few percent one way or the other. It’s also quite common to pedal one way in Easy and Endurance zones, and differently in zones that require more force and different muscle recruitment patterns. For example, a rider may pedal with a 47/53 balance while just riding along, but levels out at 50/50 when hammering. If your pedal balance is more than 5% off, it is worth exploring why that is. Factors like bike fit, injury compensation (or the legacy thereof), and core stability all could play a role. For smooth pedaling, you want to be as close to 50/50 as possible.
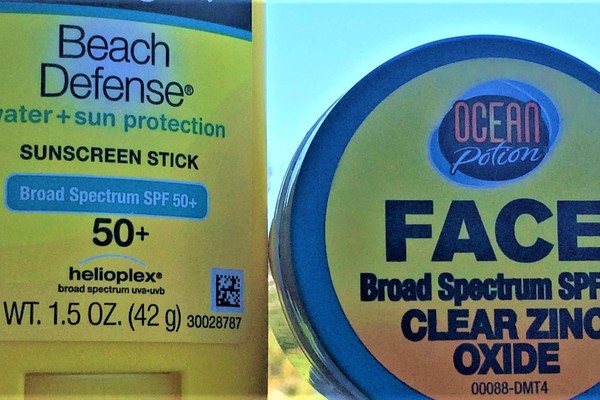
Sunscreen doesn’t actually make you faster, but it can save your life. The benefits of using a broad spectrum sunscreen to protect one’s skin from developing UV-related cancers is well known. Also, who wants to look like a fossilized raisin? For good protection, make sure to choose a sunscreen with at least 30 SPF, though most dermatologists recommend 50 SPF for safety. Apply liberally and take some with you to reapply if your event is longer than a two hours. Here's some more lotion for thought. There is evidence that sunscreen lowers body temperature and, since heat is an endurance athlete’s biggest enemy, maybe using sunscreen can make you faster!
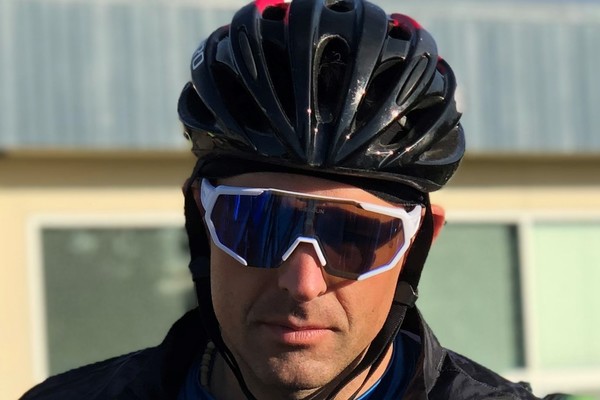
One of cycling's most famous riders from the 1980's, Sean Kelly, notably never wore sunglasses. However, today’s glasses technology means that cycling glasses do more than protect your eyes from harmful UV radiation. They do that, but they also protect your eyes, help you see (many are available with Rx), protect your from insects, rain, road debris kicked up by cars or other riders, and potential injury in the event of a crash. Along with your helmet, they are part of your cycling safety kit, so don’t leave home without them!
Cyclists have a hard time with fashion and cycling caps came along to help with that. Cycling caps, or the ‘casquette’ in French, make a fashion statement and are instantly identifiable to cycling culture. More than that, though, they help shade riders’ eyes from the sun, soak up sweat, keep riders’ heads warm on cold days, and, perhaps most usefully, keep rain and wheel spray out of riders’ eyes on wet days. The short brim of the cycling cap isn’t designed to make you look stupid, but so that you can see the road ahead while in an aero position. Cycling cap are also made of lightweight fabrics so they fit comfortably beneath a helmet. What do you know? The tried-and-true cycling cap is more than a fashion accessory after all!
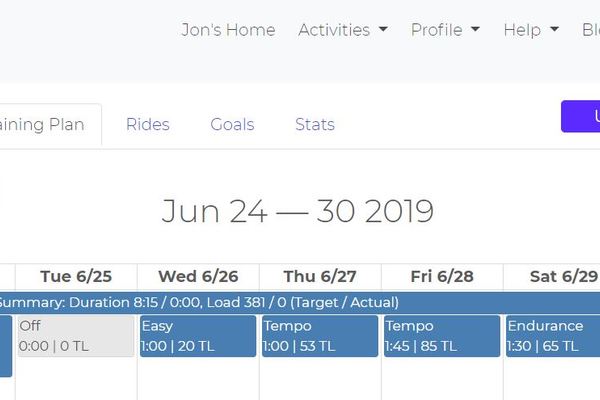
Structured training is the opposite of just riding around and doing what you like. While that’s a good way to stay generally fit, it’s an inefficient way to get the most out of your training time and to be at your best for events that you plan to do. Structured training takes into account the cycles of building your fitness and then resting. Structured training also keeps track of where you are at any given moment in your overall conditioning journey, so you get the right training prescription at the right time.
One way to think of it is as a “dose and response” model. For each training “dose” there is a given training “response” as your body adapts. If you do a lot of training dosing, and don’t rest enough, it’s tough for your body to fully adapt to the load. Structured training schedules your training loads and rest periods such that you get the most training response for work you do. It sounds simple, but it is the secret to training smarter and avoiding performance plateaus. Athletes who embrace structured training often show remarkable improvement and are shocked with the results! VeloPro is a great way to give structured training a try.